With Spring finally sticking around, it seemed like a good time this week to start my spring cleaning. My first order of business was to address my colossally huge collection of jewellery and, after weeding out the broken earrings and pendants, I ended up with a pretty nice collection of beads and earring hooks that I could repurpose. After doing a quick search on the web for ideas, and consulting a couple of crafty friends, I came up with a supremely easy plan for my repurposed jewellery items: paperclip earrings.


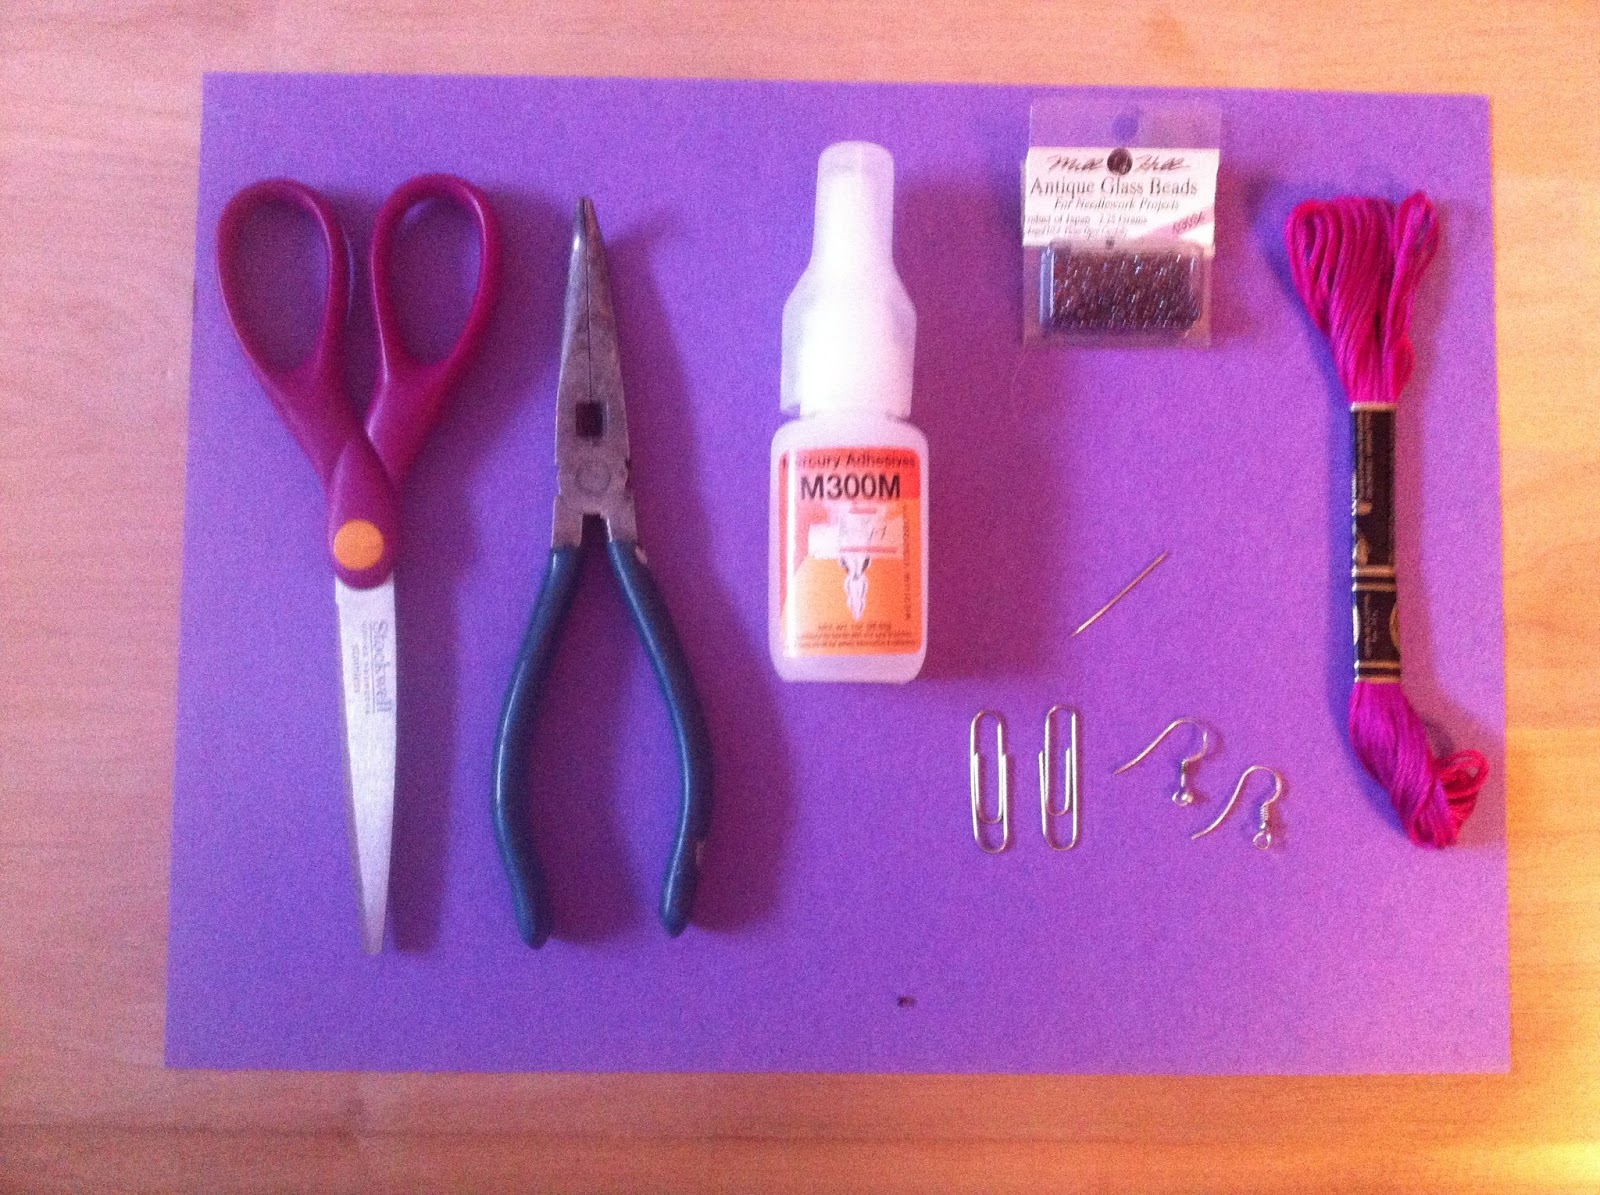
For this craft, you will need
Two earring hooks,
Two paperclips of the same size that you don't mind deforming,
Cotton or wool thread (and lots of it),
Reliable glue suitable for crafting,
Needle-nosed pliers (for the hooks), and
Scissors.
Optional: Colourful beads, and possibly a sewing needle.
This craft is very easy, and limited only by the colour of thread you may have at hand. Fortunately, my mother used to cross-stitch when I was little, so I didn't have to go far for a huge selection of thread. What I love about these earrings is that you can switch up the colour whenever you want, to match whatever you need. Even better, they are really unique! Here are the steps:
First, you need to straighten the edges of your paperclips to make a triangle. It's best to have the overlapping edges overlap on top of each other instead of putting them side to side, as this will create a weird bump that will be noticeable from face-on.

Once the clips are shaped, you need to start attaching your thread to the wire. What seemed to work for me was dabbing a bit of the glue to the clip, then pressing the thread to the glue to secure it. And even then, I made a knot with the thread on top of the glue to make it extra, extra secure.

(I should note here that the beads I wanted to use are the tiny little glass beads, so I split one strand of cross-stitch thread in half to be small enough to go through. After securing one end to the clip, I pulled the loose end through a sewing needle for later on.)
Now that the thread is attached to the wire, you can start wrapping the thread around the paperclip. I'll be honest, this takes FOREVER because you want to make sure you wrap it tight enough that the clip is well covered and won't show through.

Keep wrapping until you've gone all the way around and you're back at the spot that you knotted and glued. And then wrap over that!
Now, there are a couple of ways that I've seen these earrings done. I'm personally a fan of the "dream-catcher" style. To do this, you pretty much just run the thread across the paperclip frame in a haphazard manner, creating a spiderweb-like effect. You can leave these webby threads bare, or you can dress them up with some beads (as I have done here).

The other way I've seen these earrings done, is to wrap the thread across the whole frame until it is partially or completely covered, as you can see from these lovely specimens by a friend. (I think she also used wool thread for these.)

Now that you've threaded and decorated your earrings to your taste, you need to secure the other end of the thread. Since the wire is covered, you'll need to either glue the end of the thread to a spot that won't be noticed too well, or make some kind of knot (which is easy if you have a sewing needle at hand).
Finally, you need to attach your earring hooks to whichever spot you've decided is the top of your earrings, and use your needle-nosed pliers to make sure they're secure. And you're done!
-Nichole (Volunteer)
Fun! I bet you could make a lot of different shapes, or even combine them to make longer earrings.
ReplyDelete