After a mad session of decluttering and office organization, what can you do with piles of shredded paper? Sure, you can recycle it, but as with anything, repurposing it can extend its useful life while creating something new (to you) and fresh.
An added bonus to making paper with a toddler is the messiness of it all. Kids get free range to go elbow-deep in a tub of gooey paper pulp, feeling the messy texture between their little fingers. It's a perfect afternoon activity.
Materials:
- Shredded paper
- Water
- Wood frame
- Screen material
- Duct tape
- Blender
- Felt or similar material
- Glitter, leaves, or any type of embellishment you'd like to add
 |
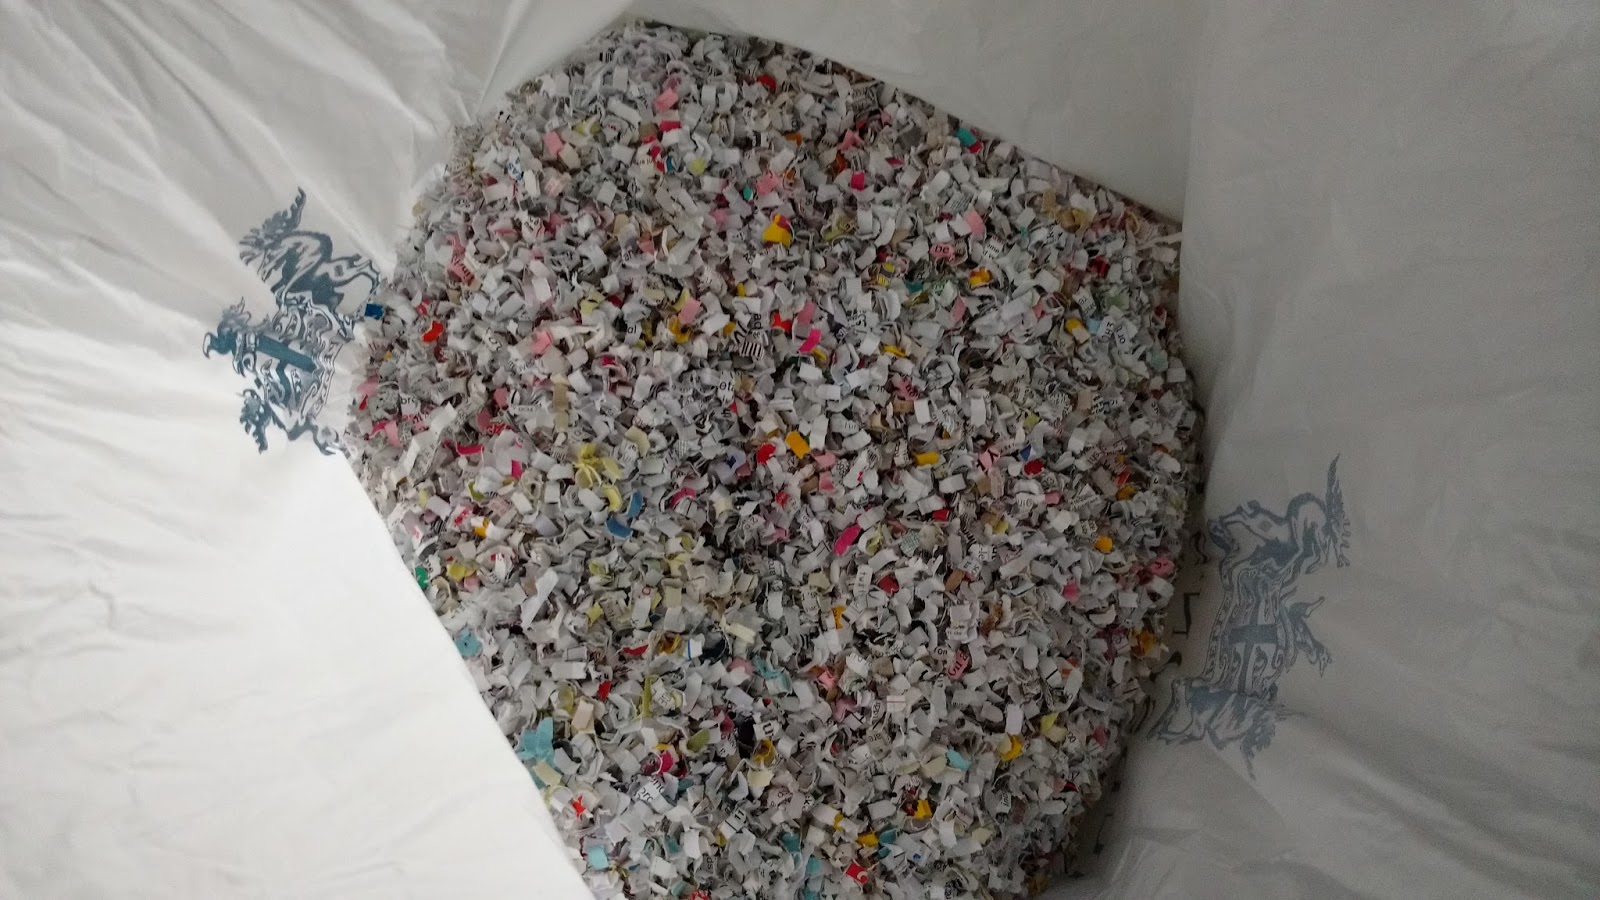
| A big ol' bag of shredded office paper. Photo: Ellen Hanna |
Start with a powerful blender or food processor and a few handfuls of shredded paper. Add any amount of water (you'll squeeze all the excess water out so you don't need to measure) and blend away!
 |
| Pulp A.K.A. goop. Photo: Ellen Hanna |
Meanwhile, you'll need to create or repurpose a wood frame. I used an old painting canvas. I ripped the used canvas portion off (remember--you can use the painted or virgin canvas without the frame so don't toss it!) and duct taped some screen material to the frame. If you have a strong stapler or staple gun, you can use that. Try to source a very fine mesh screen or your paper will be chunky. Screening is usually sold in larger quantities than you need, so look for old material you can reuse for this.
 |
| Photo: Ellen Hanna |
 |
| Photo: Ellen Hanna |
 |
| Photo: Ellen Hanna |
Depending on where you're doing this activity, you may need a bucket to catch the water that squeezes through the pulp. We were going to let the water drop into the grass but decided instead to press the pulp over our empty sensory bins.
 |
| Photo: Ellen Hanna |
Next, spoon, pour, or grab handfuls of goopy pulp and place on the screen of your frame. We tried a paintbrush to spread the pulp but found our little fingers were just as effective. Spread the pulp all the way to the edges of the screen. The thicker your layer of pulp is, the longer it will take to dry and you'll end up with a very thick, rigid paper. If you want to embellish your paper with glitter, leaves or flower petals, or any other addition, now is the time.
 |
| Photo: Ellen Hanna |
 |
| A very thick layer of pulp. Photo: Ellen Hanna |
 |
| Photo: Ellen Hanna |
Once your pulp is in place, use a sheet of felt to squeeze the water out while smoothing out the surface. We first tried the leftover piece of canvas but the pulp stuck too much and was pulled up from the screen each time. If you don't have felt on hand you could try another type of fabric, like a towel or old piece of flannel.
Don't rush this step; the fun doesn't end with that squishy pulp! We tried rolling the pulp with a toy rolling pin and the wheels of a tiny truck (neither worked very well but were super fun to do).
 |
| A piece of felt can be reused over and over until it's soaking wet. Photo: Ellen Hanna |
 |
| Ineffective but fun rolling pin. Photo: Ellen Hanna |
 |
| Also ineffective toy truck wheels. Photo: Ellen Hanna |
Once you've removed as much water as possible, gently peel the wet paper away from the screen using your felt as a transfer medium. Then gently peel the paper away from the felt. Since the wet paper can be difficult to relocate, consider a good place for your paper to dry where it won't get ripped or stepped on. Ours was very thick so it took days to dry out.
 |
| Pulp waiting to become a sheet of paper. Photo: Ellen Hanna |
Once your paper has dried out, it's ready to be used. Ours was a nice chunky and stiff piece with lovely accents of colour--perfect for cards. We used one piece as a Thank You card for a friend and another as a Happy Birthday tag on a present. Next time, I'll add some seeds to the paper so that when we give the paper to friends with a gift, they can then plant it to grow some wildflowers.
Ellen (Volunteer)


No comments:
Post a Comment