Wednesday, 24 July 2019

Reuse these and help the Bees

Happy belated ‘Don’t step on a Bee Day’

July 10 was International Don’t Step On A Bee Day. If you are like me, then this special day may have caught you by surprise, but do not dismay. Every day is a good day to celebrate these important insects and an equally as good day to practice reuse. So, why not do both today! Turn on some tunes by the Bee Gees or Sting, and hum along as you consider how you can reuse items in celebration of these essential pollinators.

Reuse Centre bee crafts.  Photo: Andrea

Reuse paper from around your home.


Use our blogger Ellen's tutorial for making paper, but add some bee-friendly wildflower seeds. Throughout the rest of the year you will create a buzz among your friends and family when you give gifts or share notes made from your finished product. These notes and tags are also the gift of a garden once planted. 🌷🌹🌻
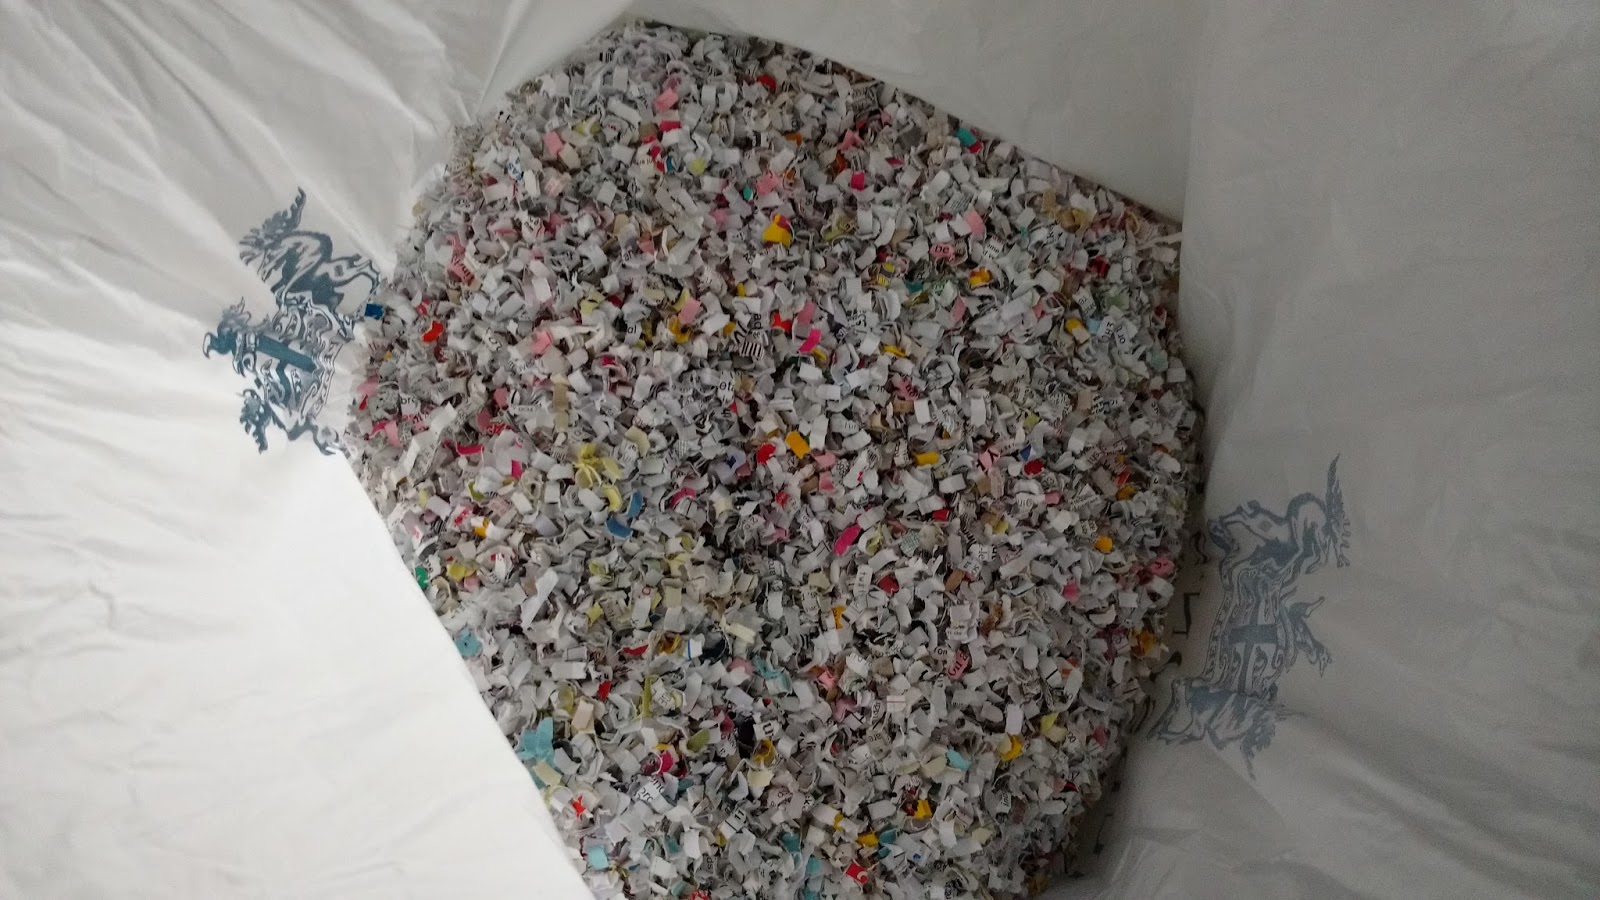
A big ol' bag of shredded office paper.   Photo: Ellen Hanna

Save milk cartons, tin cans, and cardboard from your recycling.


Reuse these items to build a bee hotel that provides a much-needed rest for these buzzy critters and a home for their eggs through the winter. Or, watch this how-to video for a slightly more complex version requiring additional tools and pieces of wood. 


Don’t waste sticks, pine cones and fallen pieces of bark from parks and sidewalks in your area.


Go for a walk around your neighbourhood to observe the mighty bee in action while you collect items from nature for reuse in a bee hotel made from your gathered materials. For inspiration look at these beautiful creations

Odds and ends such as string, yarn, shoeboxes, paper scraps, paper towel rolls and artificial flowers still have use. 


Challenge yourself to avoid buying all new materials when getting creative with or building activities for kiddos. Rather, you can visit the Reuse Centre to find items you need for doing these Bee & Pollinator Activities created by the Edmonton Area Land Trust.


Lastly, reward yourself for a reuse project well done with a drizzle of honey in a cup of tea or on a piece of warm, buttery toast!  Until next time, swarm wishes!πŸ˜‰

Submission by Andrea (staff)

Tuesday, 16 July 2019

'Recipes' to Reuse Packaging - Part 2

World Environment Day on June 5th served as an important reminder of just how precious our resources are and an abundance of those resources are used to produce the various packages we encounter everyday.  If you missed the opportunity to participate that day, then there is no better time than to start making reuse a daily practice! Whether or not you habitually reuse containers for their original purpose by refilling or not, these ‘recipes’ provide practical and delicious ways to reuse packages for a new purpose. The following items that you may habitually discard can be reused by getting creative.

A cereal box

Has new purpose as a solar oven with benefits for the whole family: it allows you to meet one of the UN Commitments for Environment Day by reducing our energy usage, keeps kiddos busy once school is out and saves everyone from missing out on glorious S’MORES in the unfortunate case of a fire ban during your summer camping adventures.

Created with Canva

Or check out these instructions to create a more durable camping solar oven.

An empty bag of birdseed or compost

Is now a garden apron that keeps the muddy work around your yard from making a mess of your clothes! Yard work is also safer with the help of a grocery bag hat to keep the heat of the sun off! You can read more about the challenge of dealing with plastic bags throughout Canada.

Apron and hat created by a Reuse Centre customer

A stash of candy wrappers

Can become purposeful again and add style when rolled into beads for DIY jewellery. Don’t want to try this project on your own? No worries, you can book a program or birthday party with us and our staff will help!


A laundry soap container

Has new use as a sitting or hanging plant pot that offers exceptionally easy watering! Create your whimsical and practical pots with this video.


Video sourced from YouTube

Though this compilation of common packaging and reuse ideas is far from exhaustive, it will hopefully inspire more reuse in your life! Some people struggle with the idea of crafting due to the perception (a reality at times) that crafts result in excess waste. But, I strive to find fun and function from my crafting efforts that will creatively reuse commonly wasted items. Continued success to all of you also striving to find creative re-useful crafts. Please share what household containers and packaging you struggle to reuse or what is your favourite way to reuse containers and packaging? Add your thoughts to the comments section below.

All photos and submission by Andrea (staff)

Friday, 31 May 2019

‘Recipes’ to Reuse Packaging - Part 1

I recently had a chat with someone who wondered how useful the Reuse Centre is to a person who "doesn’t craft”. It's an honest question from a conscientious person and one that I simply had to share because reuse is for EVERYONE! 

        So, if you...
a) DO NOT know how or lack the equipment or time to sew - "There was no Home Economics class at my high school. "
b) Get anxious at the thought of pulling out a glue gun - "I’ve burnt my fingers too many times to count!"
c) Have more DIY disasters than successes - I’ll save these for future posts😏
OR
d) All of the above
     ...Then look no further! 

Courtesy of Giphy

Craft skills are NOT needed to reuse packages for their original purpose; we save valuable resources from travelling to a landfill or piling up at a recycling facility when we use them again in our own home. 

Step 1:
Next time you finish with a laundry soap bottle and are ready to put it in the recycle - STOP! Instead, keep it to refill with some homemade laundry soap!

Step 2:
Gather these 3 easy-to-find and reasonably-priced ingredients from your local grocer. A Sunlight soap bar (or natural alternative, if preferred), Borax, and Washing Soda.


BONUS: Take the Environment Week challenge and bike or walk to get these ingredients!

Step 3: 
Follow the recipe below to cook up some fresh-smelling laundry soap that does triple duty: it saves your socks from stinking, saves money, and is an easy way to reduce excessive packaging waste.

 One batch filled 4 bottles (more than 8L of soap)! 


Here is the recipe:

Other craft-free ways to reuse plastic packages:
  • Mesh bags from produce can be reused to buy your bulk produce items next time you're shopping. Visit us at Reuse Centre if you need some.


Simply cross out UPC codes and put them in your reusable grocery bag to have handy for next time you buy bulk produce items - no need for film plastic.
Want to read more about an effort to Reuse packaging?  Loop is partnering with some large companies to sell their products in refillable containers.

So you see, Reuse is for EVERYONE and the Reuse Centre has practical items that are ready to be reused by you, no glue gun nor glitter required! We would love to hear your " recipes " for refilling containers and ideas to reuse packaging in the comments section below.

Photos and Submission by Andrea (Staff)

Friday, 8 February 2019

DIY Valentine's Decor

Valentine's Day is next week! Thursday, February 14th, in case you need a reminder of the date πŸ˜‰ I always find that Valentine's Day sneaks up on me and I'm usually scrambling to put some kind of decoration up to celebrate the day. It must be that I still haven't come out of the fog of the holiday season and the start of a new year. It could also be that it's the middle of winter and I'm in hibernation mode. This year is no different and the extremely cold weather that we've been experiencing over the past couple of weeks hasn't helped. Luckily for me, I found these really quick DIY projects that have inspired me to get crafting and get into the Valentine's Day spirit.

Custom Centerpiece

This is a simple and pretty way to add some Valentine's spirit to your home. All you need is a vase, some branches or twigs, and paper and glue. You can customize your bouquet by using different colored or textured paper or adding some ribbon and bows to your branches. Check out the full tutorial details at moneyhipmamas.


Decorative Frames

This is another example of a very quick DIY project. All you need is an old frame, paper, and markers, crayons, or lipstick, which is what was used for this example. Don't have an old frame at home? Don't worry the Reuse Centre carries lots of frames, in a variety of colors and sizes. Check out iheartnaptime for full instructions.

Textured Canvas

The final project that I found are these cute custom heart canvases. All you'll need are some blank canvases, pom poms, doilies, foam pieces, scrap paper, and glue. The different colors and textures are so appealing. The beauty of this project is that you can use anything on hand to create your patterns or designs. You could use buttons, puzzle pieces, or yarn to create hearts or spell out LOVE. Basically, whatever you're feeling inspired to create! Full instructions can be found at designimprovised.

I'm feeling pretty excited about getting started on making these projects and getting them up in my home this weekend! If you're still looking for something fun to do on Valentine's Day check out the details for the Reuse Centre's Valentine's Day date night workshop.

Vanessa (Staff)

Monday, 17 December 2018

Festive and Holiday Vase Decor

The Reuse Centre recently hosted a drop-in crafting activity where participants made Winter Scene Tealight Holders. The pieces of art that were created during this session were stunning, and we just couldn't resist sharing them with you.

Most participants opted to stick to the original project, and designed their own tealight holders using decorative beads and ribbon but there were a few people who thought outside the box and used their vase/candle holder to create beautiful winter and holiday scenes, sans tealight. Here were some of the creations.

Photo Credit: Tessa M.

Photo Credit: Tessa M.

 Photo Credit: Vanessa

Photo Credit: Vanessa


Want to create your own festive vase for this holiday season? Here's a quick tutorial to get you started. One added bonus, all of these items are available at the Reuse Centre.

Materials
  • Glass vase, candle holder, or other type of glass jar
  • Table salt
  • Small holiday or winter figurines and ornaments
  • Artificial greenery or floral type material 
  • Ribbon 
  • Glue gun and glue sticks 
  • Any other accoutrements that you like (i.e. sequins, bells, glitter, beads etc.)

Instructions

1. Ensure that your vase or container is clean. Once you start to add items, it will be difficult to wipe off dust or fingerprints.

2. Fill the bottom of your container with salt. A 1-2 inch layer should be enough, but you can add more or less, depending on how much "snow" you want in your scene.

3. Once you've added your "snow", start creating your winter/holiday scene. I'd recommend placing larger items in first and then working the smaller items around them. Try experimenting by adding some glitter to your snow. And don't be afraid to trim down your artificial greenery and floral material to create little trees or shrubs. A great part of this project is that you can put items in and take them out relatively easily, so you can create exactly what you're envisioning.

4. When you've finished creating your scene inside of your container, try adding some ribbon or other items to the outside of your container. Just a word of caution, adding too much to the outside may make it difficult to see your scene on the inside. Pay attention to what your scene looks like from eye level and not just the top.

Taaa-Daaah! You're all finished!

Interested in attending our next crafting session? Be sure to follow us on Facebook to find out about any upcoming drop-in crafting activities and workshops.

- Vanessa (Staff)


Tuesday, 6 November 2018

DIY Tea Cup Candles

I was recently enlisted to help plan a bridal shower and the theme was a high tea party. As with most parties, I wanted to provide some kind of favour or keepsake to thank guests for attending.

I've seen tea cup candles in stores and craft fairs over the last few years and always thought they were pretty. When it came time to come up with an idea of what I could give guests I thought, why not try to create my own tea cup candle. It turns out, that they're pretty easy to make. I was able to find almost all my supplies at the Reuse Centre. The only thing that I couldn't find there was a tea cup, but I manged to find one at a local Goodwill store. Yay! A 100% reused project.

Materials
  • Wax (any of these will work): old candles in similar colours, with wicks removed; paraffin wax; beeswax; soy wax
  • Ceramic/porcelain/china tea cups
  • Candle wicks with metal base
  • Skewers
  • Knife
  • Cutting board
  • Small metal coffee can  
  • Pot 
  • Water
  • Oven mitts or other heat resistant gloves


Directions:

1. Chop your old candles or wax that you're using into small bits. This will make it easier and quicker to melt the wax.


2. Place your chopped up wax in your metal coffee can.

3. Submerse the can in a pot of water. The water should be about halfway up the side of the coffee can. Start to heat the water on medium heat. The water should be hot but not boiling. Occasionally stir the wax as it melts.


4. While your wax is melting, prepare your tea cups. Place one wick in each cup with the metal base resting at the bottom of the cup.

5. Place your skewer, perpendicular, on top of the tea cup and rest the excess wick on top of it. This will ensure that the wick stays upright when you pour the wax in.

6. Once the wax is fully melted, remove the pot from the heat and carefully remove the coffee can from the water using your oven mitts/gloves.

7. Pour the melted wax into each tea cup about 3/4 full. Adjust the wick, if needed, to ensure that it is upright and straight.


8. Allow the wax to completely cool, remove the skewer, and trim the wick to about 2cm above the wax.

Presto! You have a cute tea cup candle.


The guests loved the candles and an added bonus of creating them was that they doubled as decor during the party. These candles would also make a great gift for lots of other occasions. Happy crafting!

- Vanessa (Staff)
All Photos provided by Vanessa

Tuesday, 11 September 2018

5 Tips and Tricks Before You Thrift

Are you tired of your style? Would you prefer a more sustainable way to shop? Are your funds limited? If you answered yes to any or all of these questions, you're in luck! Thrift shopping is the answer to your fashion dilemma! However, before you go rushing to the nearest thrift store, here are five tips and tricks to guide you through thrift shopping.


                                                         Photo: Cindy Caturao


1. Set a Budget

Limit your spending! With prices reduced to almost half, sometimes even three quarters of the original price, it's quite easy to get carried away and buy clothes and furniture that you don't necessarily need. Ask yourself: Do I need it? Will I actually use it? Is it worth it? Setting a budget will help you to not only narrow down the things that you need but also keep your spending in check. 

2. Shop Around 

Edmonton offers a variety of consignment boutiques, thrift shops, and many second-hand stores. Various neighborhoods will also carry different items. I suggest going to multiple locations for an eclectic mix to shop from.

3. Sign up for memberships 

I understand, there is nothing more annoying than constantly receiving promotions, newsletters and just overall spam mail from different companies but sometimes it's worth it to subscribe. Occasionally, places such as Goodwill and Value Village will email members 40-50% off coupons. 

4. Shop with an open mind

Refrain from sticking to one area of the store. The beauty of thrift shopping is that most of the time, the items that you find are from the most unexpected sections of the store. Keep your options and selections ample and explore different areas of the store outside of your comfort zone!

5. D.I.Y.

Occasionally, you may find a garment that's not your ideal size or style. Making some quick and easy alterations allows you to see beyond the original purpose of the item. It opens up the potential and possibilities to reuse and repurpose garments. 

Thrift shopping is a sustainable way to dress without breaking the bank. It promotes reusing and repurposing garments that might otherwise end up in landfill creating more waste. Lessen your carbon footprint and shop at a thrift store. You never know what you might find!


                                                                                       - Cindy (Volunteer)