Showing posts with label Frames. Show all posts

Monday, 24 February 2020

Reuse Centre: A Wedding Store

When I got married 10 years ago, I didn't have a huge budget. I made my own invitations, and my best friend helped me with the decor and planning. Yes, it was stressful (mostly for my friend, haha), but at the end of our day, we were so proud of what we were able to do with a limited budget. I think most people take pride in showcasing something they have made themselves. It is very fulfilling to be able to create a beautiful and personal thing for your special day.

For this post, I will share some wedding decor ideas, and create wedding items from materials at the Reuse Centre. You might ask, "What can I possibly get there that I can use for a wedding?" So, I'm going to show you a few easy projects you can do to not only save money (only $5 per 25 kg), but also help you reduce waste created from planning your special event.

1. Egg carton flowers and mini-cupcake/mini-donut holders

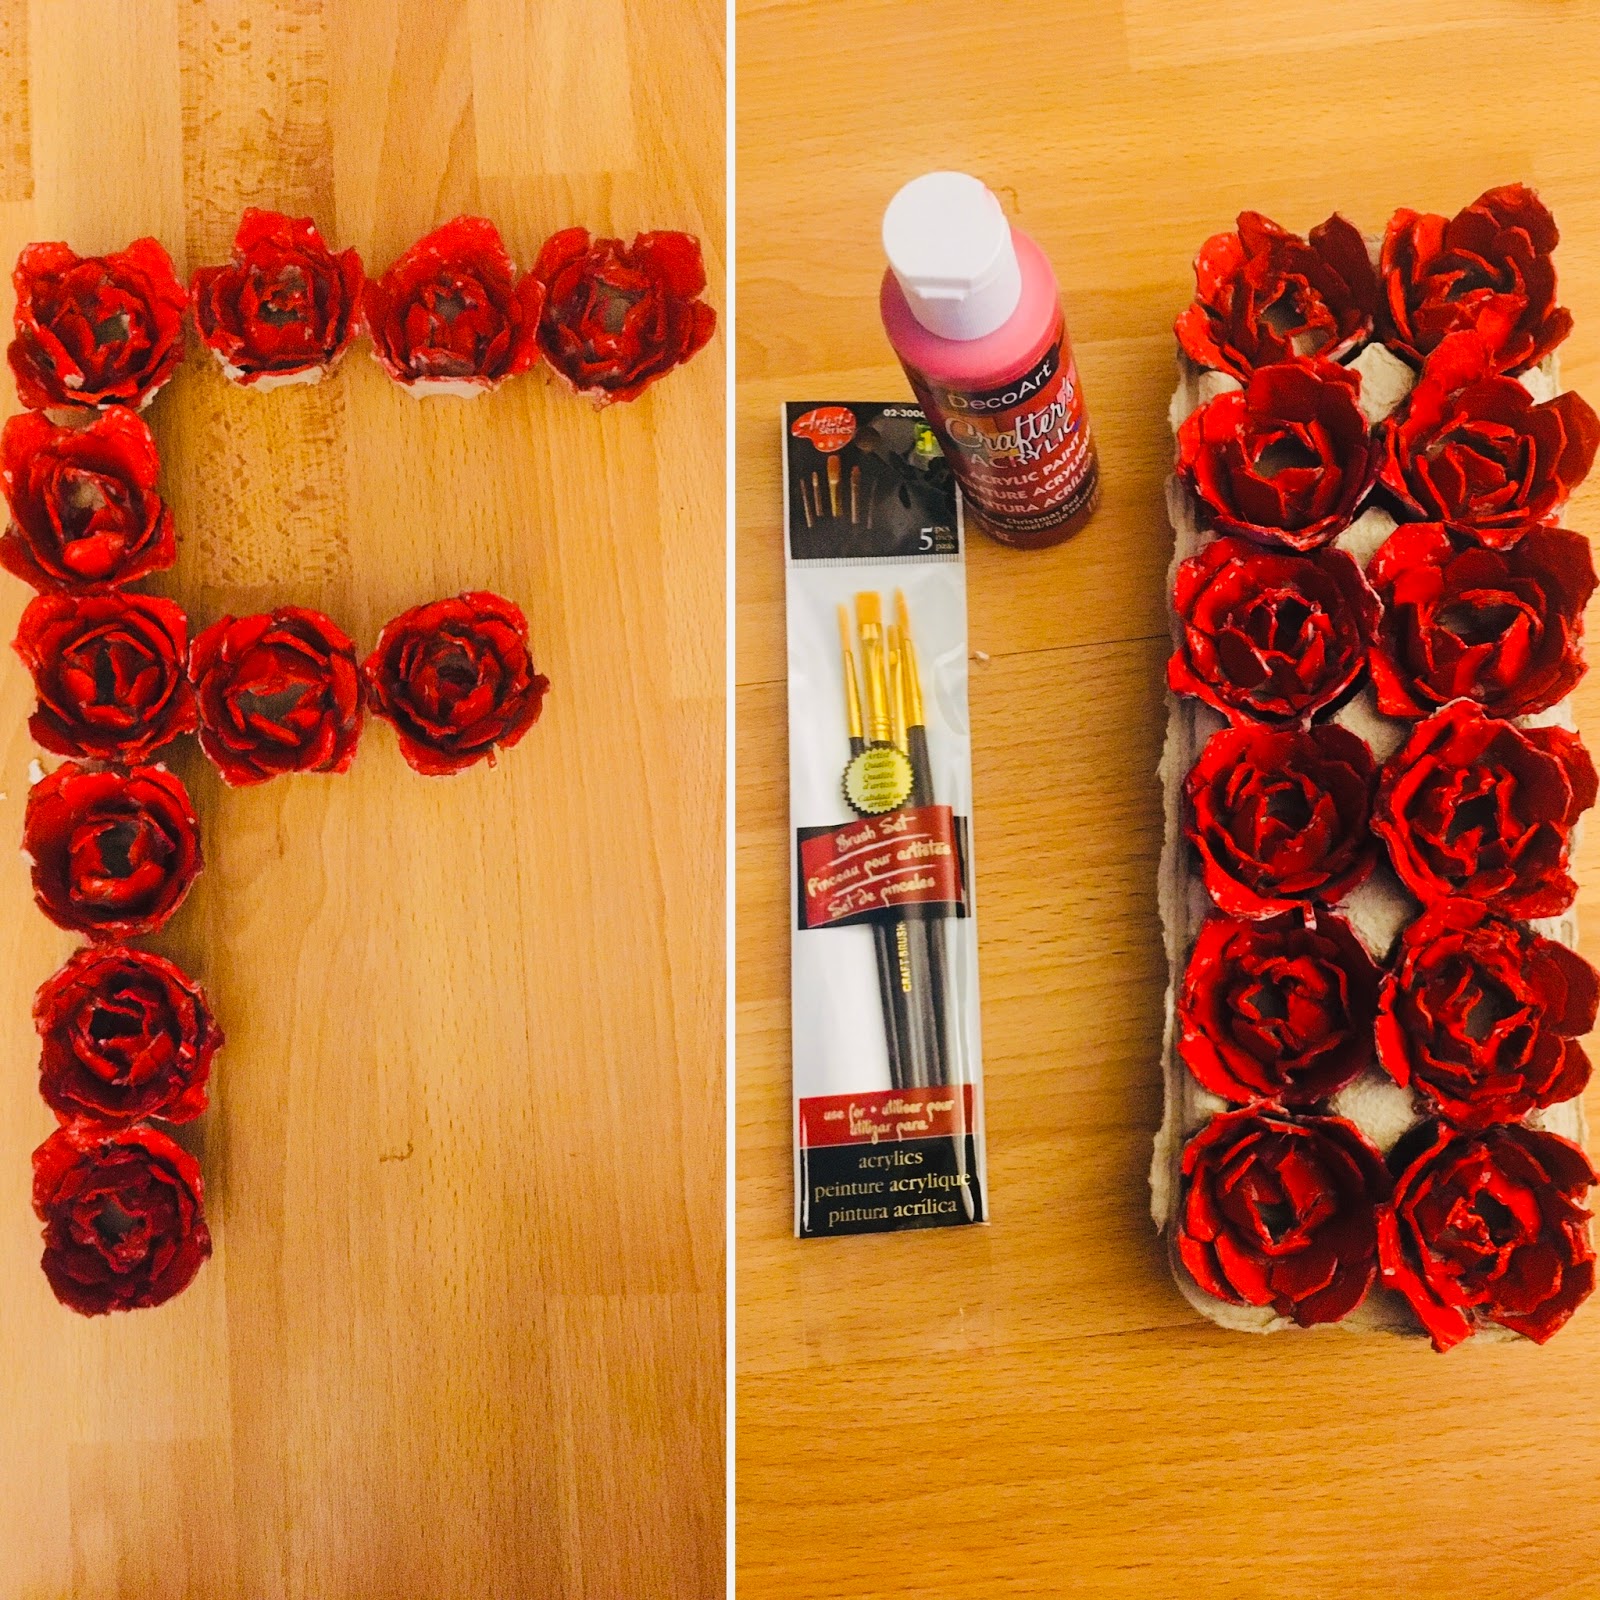
Paper flowers have slowly been taking the place of balloons, which is awesome since balloons end up in landfills. Instead of using card stock, you make roses out of the egg cartons.

It took me one carton to make five roses and other flowers


Hand-painted each rose with red acrylic paint.
 (I think they turned out eggcellent!)  


Painted with food safe acrylic paint


2. Empty containers for a candy buffet or favours

Instead of buying a box of jars for your candy buffet, check out the Reuse Centre for an amazing variety of tin cans, bottles, and jars. Start collecting empty containers from your own home. Take the labels off, wash thoroughly and voila, you have candy containers! Baby food jars are perfect for holding wedding favours such as mints, tea leaves, plant seeds, etc. 


Just a few empty containers from my kitchen


A bin of baby food jars at the Reuse Centre


3. Old picture frames are multi-functional

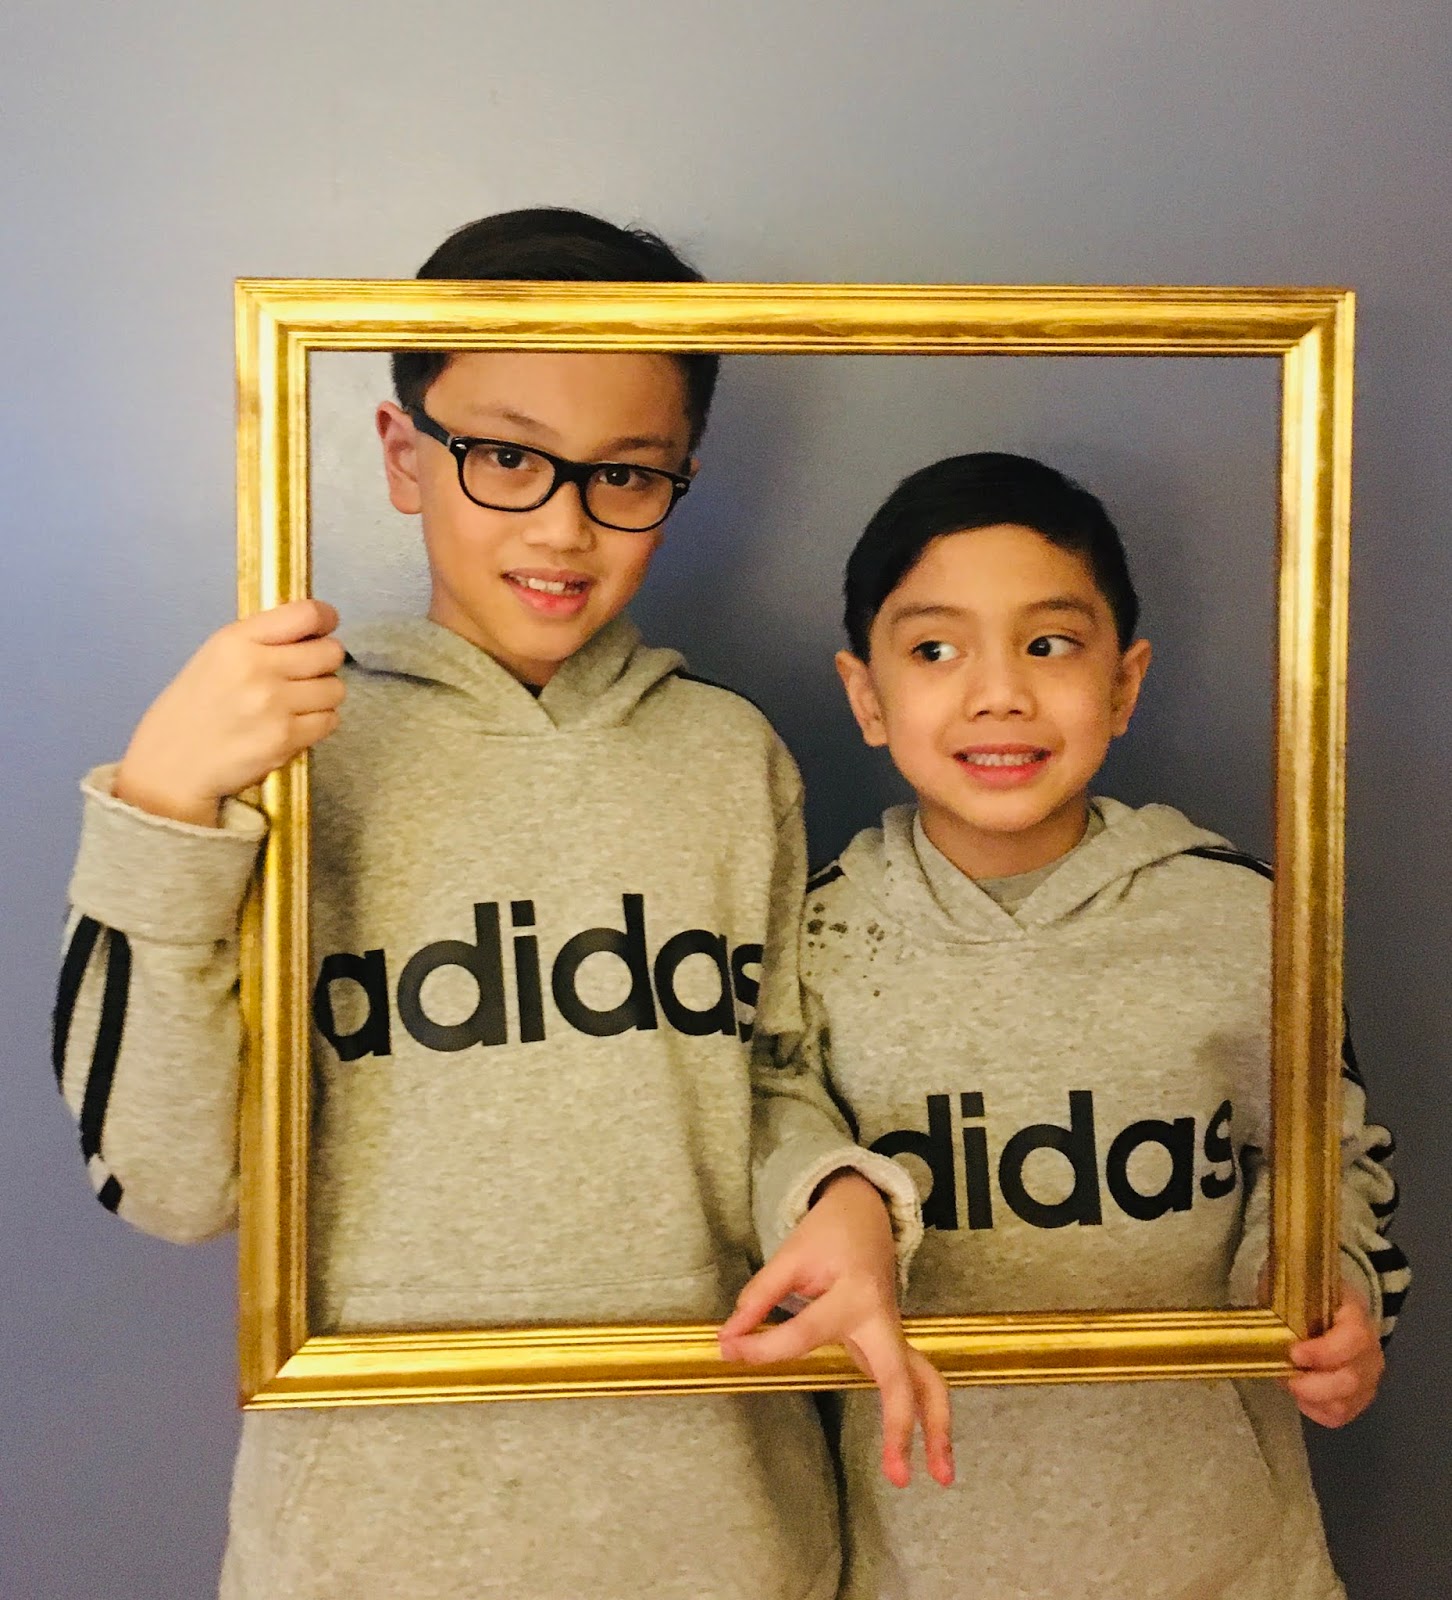
The Reuse Centre has a lot of  picture frames that you can use to show the seating chart for the guests, or to simply display pictures of the couple. Large-sized frames can become fun props for wedding pictures or photo booths. 

Perfect for a rustic feel


My models!
 
4. Broken crayons to wax seal invitations

There is an area at the Reuse Centre with all the school supplies to stock up on crayons, envelopes or stationary. But if you, your friends or family members have kids, chances are they have broken crayons lying around the house. For this project, all you need are crayons, a glue stick, a candle, and an old metal spoon. Melt a piece of the glue stick and crayon in a spoon and pour it onto your envelope. At this time, you can either stamp it with a personalized stamp or let cool.
  
You can also mix different crayons for a rainbow effect.


5. Tissue paper/gift wrap rolls can become napkin ring holders 
                
From these rolls (photo taken at The Reuse Centre)

To these cute napkin rings

There is not much to say here. Simply cut the rolls to the desired size and paint in the colours of your choice.

6. Books used as centerpieces

I saved the best for last. Honestly, this is something I wish I had thought of when I got married: using books as centerpieces.This idea is genius because I can't think of a more personal centerpiece than books specifically picked by the couple according to their tastes or motif. Not only that, but having books as centerpieces eliminates the need for wedding favours because the guests can bring home whichever book they want. There will be zero waste with this idea. I mean, what more can guests ask for? Food. Party. Books.

So, there you have it, just a few ideas for you! I'm sure once you enter the Reuse Centre and see all of the items in there, your mind will light up with other projects. Please comment with your own Reuse Centre ideas or creations.

Enjoy planning!

                                                                                        Photos and Submission by Mariz F (volunteer)

Tuesday, 7 May 2013

Tutorial Framed Button Monogram


Mother's Day is fast approaching and it's an occasion for which, I'm sorry to say, I've always had a little trouble in coming up with a good gift.  The day calls for something small, and understated which is a difficult concept for me.  Fortunately, my addiction to Pinterest provided me with a few great (and easy!) ideas for something nice for my mom.  She's been doing some redecorating lately, and trying to find some new and interesting things for the walls, which is why I finally settled on making her a framed Button Monogram.


For this craft, you will need:
A picture frame
Something onto which to mount the buttons: some wallpaper/a square of fabric
A lot of buttons
Glue (hot, crazy, craft) OR Needle and thread
A pencil

My mom has pretty classy taste, and she's really into black and white graphics.  I decided to design her monogram with black/dark buttons on a white background, then mount it in a black frame.  I found a nice, unused 8" x 10" shadow box lying around the house, but you can also find the perfect frame at the Reuse Centre!  

I removed the insert with the cheesy photo from the frame and used it as a template to cut out the anaglypta wallpaper I found to use.  I like the textured quality of the anaglypta, but an interesting piece of fabric would be equally lovely.

I didn't want to waste buttons or wreck the monogram by free-styling their placement, so I first laid out a few loose buttons in an "S" shape to help choose the right sizes and colours.  You could also trace the letter you want with a pencil, but the pattern on the anaglypta made this a bit difficult.  This way, you can make any necessary changes before you make anything permanent with glue.  (In this case, I switched out the big buttons for smaller ones and used some coloured ones instead of all black.)


If you're using fabric, you'll probably want to secure the buttons with needle and thread.  After attaching the first layer of buttons, you can plump up the monogram by filling in any empty spaces with more buttons.  Allow the monogram plenty of time to dry, then just pop it in the frame!  I finished it off with some pearly pins in the corners for some added interest.  


This was unbelievably easy (and needless to say, economical) to assemble, and now my mom will have something new for her walls.

Happy Mother's Day!

-Nichole (Volunteer)

Friday, 1 March 2013

7 Ways to Reuse Magazines

If you've been to the Reuse Centre, you know we have a huge collection of National Geographic magazines, so we decided to brainstorm and research interesting ways to reuse them. If you don't have any old magazines sitting around your home, stop by and grab some from us to get started on these great reuse projects!

1. Reuse Decor - The beautiful and inspiring pictures found in National Geographic magazines can become treasured pieces of art in your home. Find an old frame (we have some of those too!), cut out a favourite picture and place it in the frame. It's as easy as that!

2. Magazine Coasters - Want to show off your DIY skills next time you have company over? Make these cool magazine coasters and put them out at your next party.


3. Gift Wrap - Have you found the perfect gift for someone special but can't quite decide how to wrap it? Come to the Reuse Centre and we will help you find a National Geographic magazine from the month and year you are looking for. Whether you're celebrating a birthday, anniversary, or other occasion, a National Geographic from the special date will make great gift wrap... and you can include the rest of the magazine in the gift for the recipient to flip through. If you're feeling extra adventurous, you can make your own bow too!


4. Magazine Bowls - Jewellery, accessories, and home decor made from old magazines have become quite popular recently. Instead of buying one of these bowls from a store, save your money (and some trees!) and make your own.


5. History Lesson - Old National Geographic magazines can make great resources for teachers. The magazine was first published in 1888 and has been providing readers with a wealth of information since then. One of the oldest issues we found at the Reuse Centre recently was from June of 1957. Bringing a magazine like this into a classroom could be invaluable for teaching students about the history of our world, how it has changed, and how it has stayed the same ()
 
6. Magazine Magnets - This project will require you to purchase a couple extra supplies, but could result in a cute and thoughtful homemade gift... or you could just keep them all for yourself! Grab your crafting supplies and some interesting pictures from an old magazine and have fun making your own unique magnets!


7. Travel Inspirations - Who would have guessed that the very same National Geographic issue mentioned above from June, 1957 would have a 21-page story (complete with several full-page pictures) about the beautiful Maldives islands. A dream destination for many even today, the author of this article talks about how long he has waited to visit this paradise. The amazing pictures and incredible stories about destinations around the world could inspire you to take your next vacation now!


- Marissa (Volunteer)